The story behind one of my favorite sweets: ‘opilla’
And what’s the ‘opilla’ you may ask? Well, let me take you back to my hometown and tell you a sweet story about this delicious cake (and share the recipe 🙂 ).
The tradition behind the ‘opilla‘
April 25 is a very special date for the people from Irún, my hometown. On this day every year, we remember the tradition of the ‘opilla‘, which marks the festivity of San Marcos. This event is celebrated in Irún as well as in other municipalities from Guipúzcoa such as Fuenterrabía or Rentería.
And why do we celebrate this special occasion? This is the story behind it.
According to the tradition, back in the day processions were held in Irún with representatives of the clergy along with a group of armed peasants. During this ceremony, the fields were blessed and the procession stopped along the way for the “amaiketako” (lunch). Then, the priests and the authorities were offered a formal lunch, while the peasants had to settle for with a bun with one or two boiled eggs. It seems like, later in time, a rich lady from Irún came up with the idea of substituting the bread for a cake to give it to her goddaughter. The idea was so well accepted that it still remains to this day.
‘Opilla’ is a cake that godmothers give (or bake) to their godchildren on April 25 while they are single.
Possibly, the current name “opilla” derives from the old words in euskera (Basque language) “ogui-pilla” (bread cake).
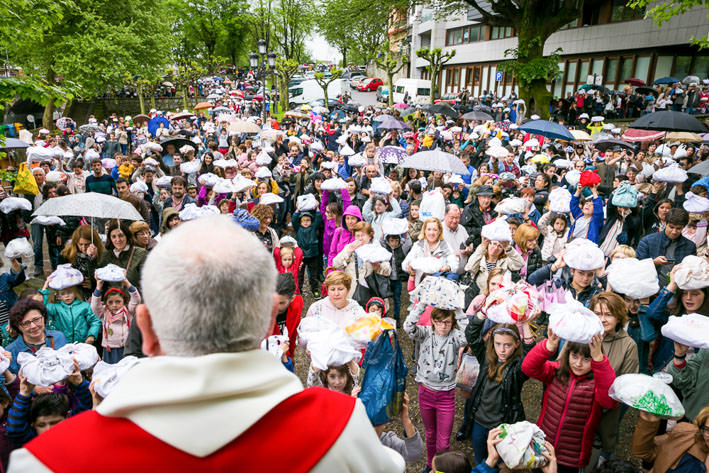
Once the opilla is gifted, it cannot be eaten until it has been blessed at the church on April 25, wrapped in a colored tablecloth. Afterwards, kids usually celebrate this day by going to the mountains with their family and friends to enjoy the delicious opilla.

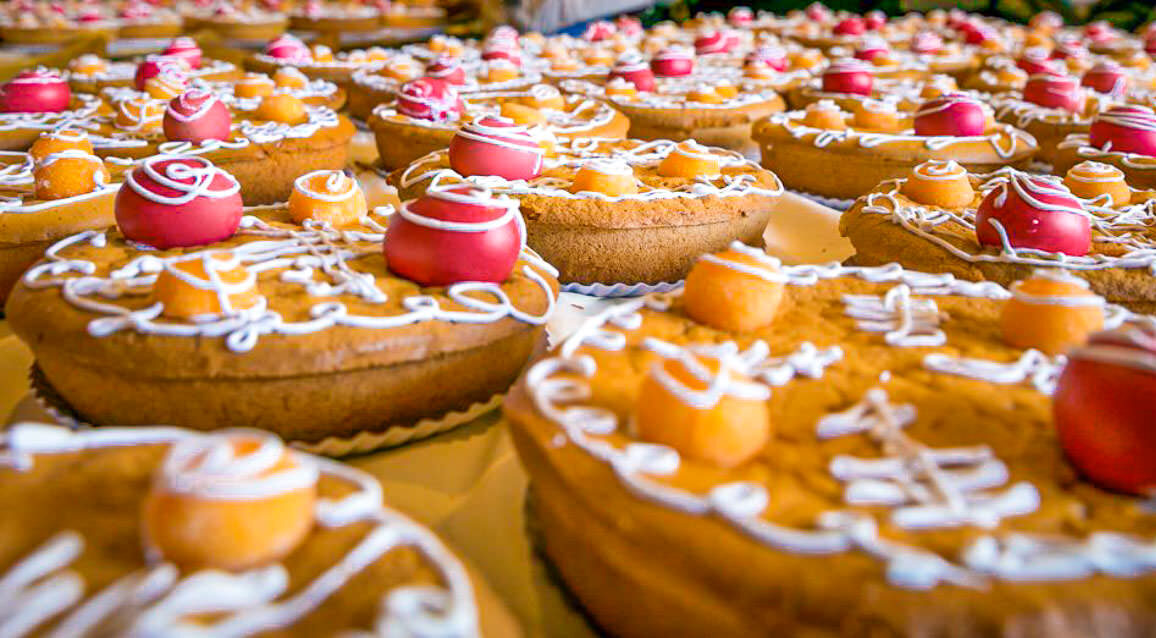
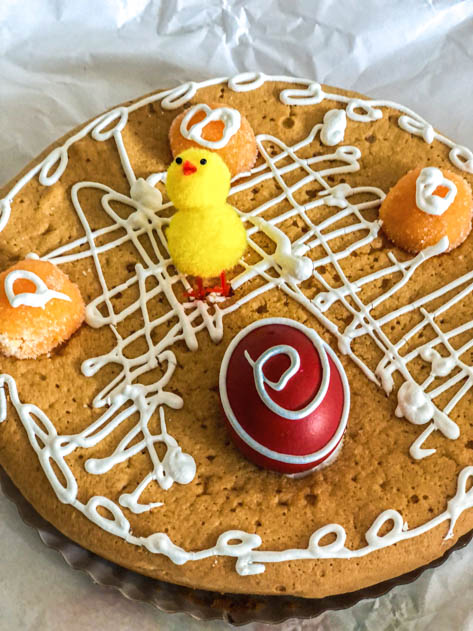
Nowadays, the opilla is a cake featuring three essential ingredients:
- hard-boiled eggs, painted in fuchsia (you can also get chocolate eggs depending on how lucky you are)
- candies and sweet egg yolks (yemas)
- a little feathered toy representing a chicken (pollito)
My ‘opilla‘ memories
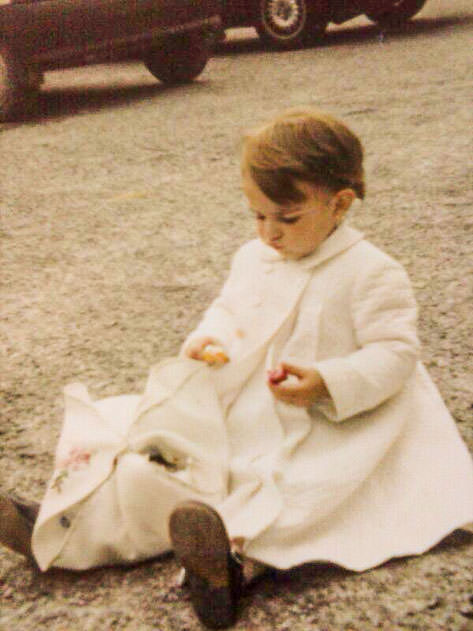
I have many joyful memories of this day throughout the years. I remember how our respective godmothers used to bring my brother and I our opillas a few days before April 25. My mother would wrap them in colorful tablecloths and place them on the living room table. What a delicious smell!
Moreover, I remember spending a lovely afternoon with our family and cousins in the fields near Mount San Marcial in Irún or in Guadalupe (Hondarribia).
Finally, it was also fun to “miss” that school day. Since we studied in France but we were Spanish, we had the perfect excuse not to go to school on very rare occasions such as the day of the Three Wise Men, the opilla and San Marcial.
By the way, if you’re curious about what the opilla tastes like, I would recommend buying yours at the Aguirre bakery in Irún. They have a couple of locations in town and it is by far my favorite place for any sweet craving. But of course, you can also bake your own opilla. If you’re up for a challenge, keep reading below!


Bake your own ‘opilla‘!

Opilla is one of my favorite cakes. Especially because I associate it with joyful memories from my childhood with family at home.
Here are a couple of recipes for you to try baking your own opilla.
Simple recipe
For this simple opilla recipe, you can pretty much follow the steps for a yogurt cake.
Ingredients
For the cake
- 3 eggs
- a lemon yogurt (alternatively, use a plain yogurt and juice a lemon)
- flour (3 measures using the yogurt container)
- sugar (2 measures using the yogurt container)
- oil (1 measure using the yogurt container)
- baking powder (1 small package)
- a few drops of vanilla essence
- chopped almonds (optional)
For the icing
- icing sugar
- lemon juice (1 lemon will suffice)
Steps
- Preheat the oven to 180° C.
- Grease your cake pan with butter and some flour.
- To bake the cake, mix all the ingredients (eggs, yogurt, flour, sugar, oil, baking powder, vanilla essence and almonds).
- Pour the dough into the greased cake pan and bake for 35-40 minutes or until your knife inserted in the cake comes out clean.
- Let the cake cool.
- In the meantime, prepare the icing by mixing together the sugar and the lemon juice. Bring to a boil, then lower the heat and simmer until it reaches your desired thickness. Then pour on top of the cake.
- Enjoy!
Pro recipe
If you’re feeling rather adventurous, try this other recipe by Rebañando, which includes a few more ingredients and steps.
Ingredients
For the cake
- 250gr of butter
- 250gr of strong wheat flour (bread flour)
- 250gr of sugar
- baking powder (1 small package)
- 4 eggs
- 2 yogurts (creamy)
- 125gr of crushed almonds
For the icing
- 25gr of sugar
- 50gr of water
- ¼ teaspoon of vanilla essence
- sprinkles
- tinted boiled egg (up to 4 eggs, depending on how big your opilla is)
- candy
- a little feathered toy representing a chicken (pollito) – if you can’t find it, feel free to leave it out
Steps
- Let’s start with the cake dough! It is recommended you use an electric mixer in the process, since the dough will take on more air and therefore will be more spongy.
- Melt the butter in the microwave.
- Put the sugar in a bowl, and once the butter is melted, pour it over the sugar and move it well until achieving a uniform dough.
- Next, add the eggs one by one and continue mixing.
- Once this is done, add the two yogurts and the almonds to the mixture and keep on whisking.
- Finally, add the baking powder to the flour (make sure they both integrate well) and sift it little by little on top of the mixture that you are whisking.
- Preheat the oven to 180 ° C.
- Pour the dough in a cake pan and place it in the oven for 35-40 minutes (or until your knife inserted in the cake comes out clean).
- Take it out of the oven and let it cool down.
- When it cools, remove it from the cake pan and put it on a rack, ready to be decorated.
11. For the icing, put in a saucepan 25gr of sugar with 50ml of water and bring to a boil. - When the sugar is completely dissolved, pour in ¼ teaspoon of vanilla essence.
- Pour this mixture on top of the cake you already baked.
- Spread the sprinkles, boil some eggs and tint them, place candy and whatever you feel like decorating it with.
- Enjoy your delicious homemade opilla!
I hope you liked the story behind the opilla and tried baking your own. Feel free to leave me a comment below!


